Step by Step Eyeshadow Guide for Beginners
If you’re new to makeup, eyeshadow can seem very tricky. You’ve probably seen tutorials showing you how to get a “smokey eye” look, or a “cat-eye” look and various other looks.
But what about if you don’t have much experience in applying your eyeshadow? Where should you start, and what sort of look should you go for? Y
ou may not know which brush to use, which color, or how exactly to apply it. Luckily, applying eyeshadow is something anyone can pick up quickly, you just need to follow a few simple steps.
Keep reading for a beginner eyeshadow step-by-step guide that will have you applying your eye makeup like a professional in no time.
What you need
- Eyeshadow primer
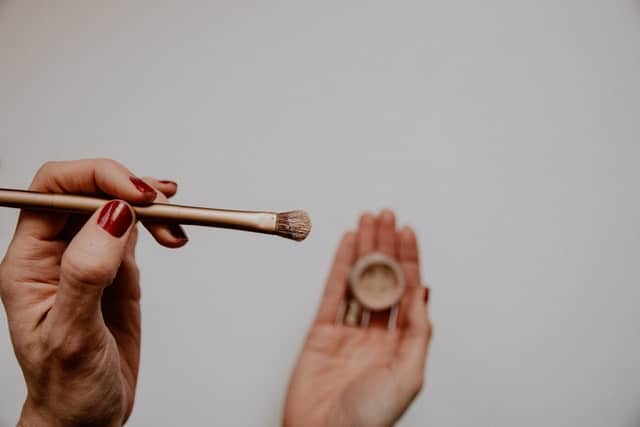
- Round eyeshadow brush
- Light eyeshadow
- Dark eyeshadow
- False eyelashes (optional)
- Mascara
- Eyeliner
Step 1: Apply your eyeshadow primer

Eyeshadow Primer
First thing’s first. Give yourself a good base to work with by applying a layer of eyeshadow primer to your eyelids.
Eyeshadow primer is essential for maintaining a long-lasting look that will stay throughout the day. If you don’t have an eyeshadow primer, you can use a concealer or foundation instead.
Step 2: Apply a base
Use an eyeshadow brush to apply a base layer of eyeshadow that matches your skin tone. Blend the base into your skin. This, along with your primer, make a perfect base for the rest of your eye makeup.
Step 3: Define your crease

The next step is to make your eye look bigger and wider by defining your crease. You want to use a darker shade of eyeshadow and apply it along the base of your upper eyelid, where the eyelid meets your brow bone.
Apply it lightly, holding your brush with your hand towards the back, away from the bristles.
Step 4: Blend your eyeshadow
Use a clean brush the blend the eyeshadow you’ve applied. Use a sweeping motion to blend the different colors and layers to create a blended look.
Be sure to diffuse the eye to the other. This will ensure a natural look for your base layers.
Step 5: Highlight your eye
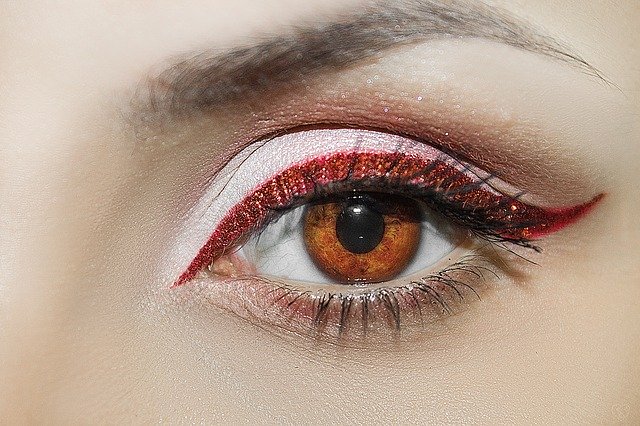
Apply a light shade of eyeliner to your upper eyelid, from the inner corner of your eye up to your eyebrow. This step will help bring out the color in your eye and ensure a brighter, more awake look.
Step 6: Eyeliner
Apply your eyeliner on your upper and lower lashes to give yourself a sharp, finished look. A dark shade of black or dark-brown eyeliner is usually the best choice. Feel free to wing the eyeliner to draw more attention to your eye’s shape.
Step 7: Enhance your lashes

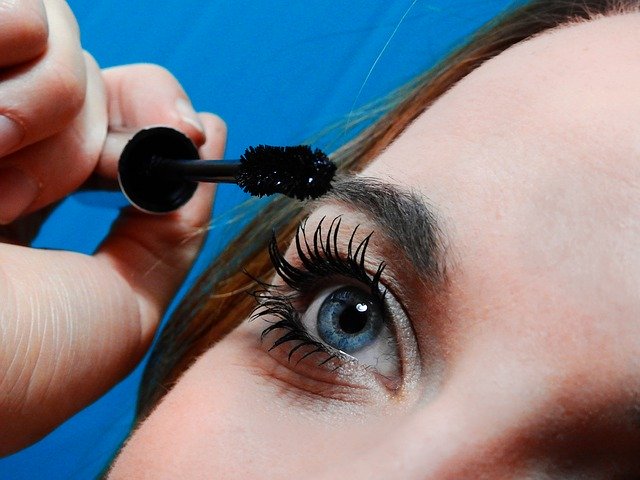
Beginner Eyeshadow Step by Step Guide: Mascara
Frame your eye and draw more attention to your makeup by applying false lashes and mascara.
This will plump up your eyelashes and make your eye look bolder and stand out more. You can also curl your eyelashes to better frame your eye and give you a more awake, brighter look.
Step 8: Set your look
Once you’ve finished your makeup, you need to take the proper steps to make sure it stays in place for the whole day or night.
Use a setting spray on your eye makeup to hold it in place, and make sure it looks as fresh as it was when you first applied it, no matter how long you wear it.
Conclusion
Eyeshadow may seem tricky, but getting it just right is easy if you follow the above beginner eyeshadow step-by-step guide.
Eyeshadow adds depth and dimension to your eye, draws more attention to your eye, and can make your eyes look brighter and more attentive.
This makes it an essential component of a makeup routine, and perfect for everything from casual, everyday looks to professional looks, to looks to go out on the town with, and everything in between.
Although doing your eyeshadow may seem confusing at first, it is very simple and easy to pick up.
Beginners can pick it up right away and get good at it very quickly, so before you know it, you will be applying your makeup like a professional.